Table of Content
However, there are some troubleshooting steps you can try to get the button working again. Jerri L. Ledford has been writing, editing, and fact-checking tech stories since 1994. Her work has appeared in Computerworld, PC Magazine, Information Today, and many others. Let the alcohol dry off the button before you start using it again. Hold the Sleep button on it and then slide to switch it off. Here, you should tap “Fix Now” to continue the process of fixing the operating system of your iPad Mini.
On the right side of the screen, sound options will appear there. Step 1 Connect your iPad to your computer with a cable. Click on the Standard Mode on your screen so that you will not suffer from data loss.
Step 25
If it takes more than 15 minutes, your iPad will exit recovery mode, and you'll need to repeat steps 2-4. Once you've determined whether your button is physically broken or not, then you can figure out how to move forward. If the button is obviously broken, you'll need to have your iPad repaired at an Apple-approved service center. Otherwise, try these troubleshooting steps, starting at the top and working your way down until you find the problem.
IPads are prone to this issue but no one has come up with a reasonable method of fixing it. There could be a software error interfering with the functions of the button.
Force restart your iPad
The process will also remove the software glitch on your iPad so that the volume button can start working. Click Start Standard Repair to commence the fixing of your volume button stuck on iPad. Wait for the process to complete as it will take a while.
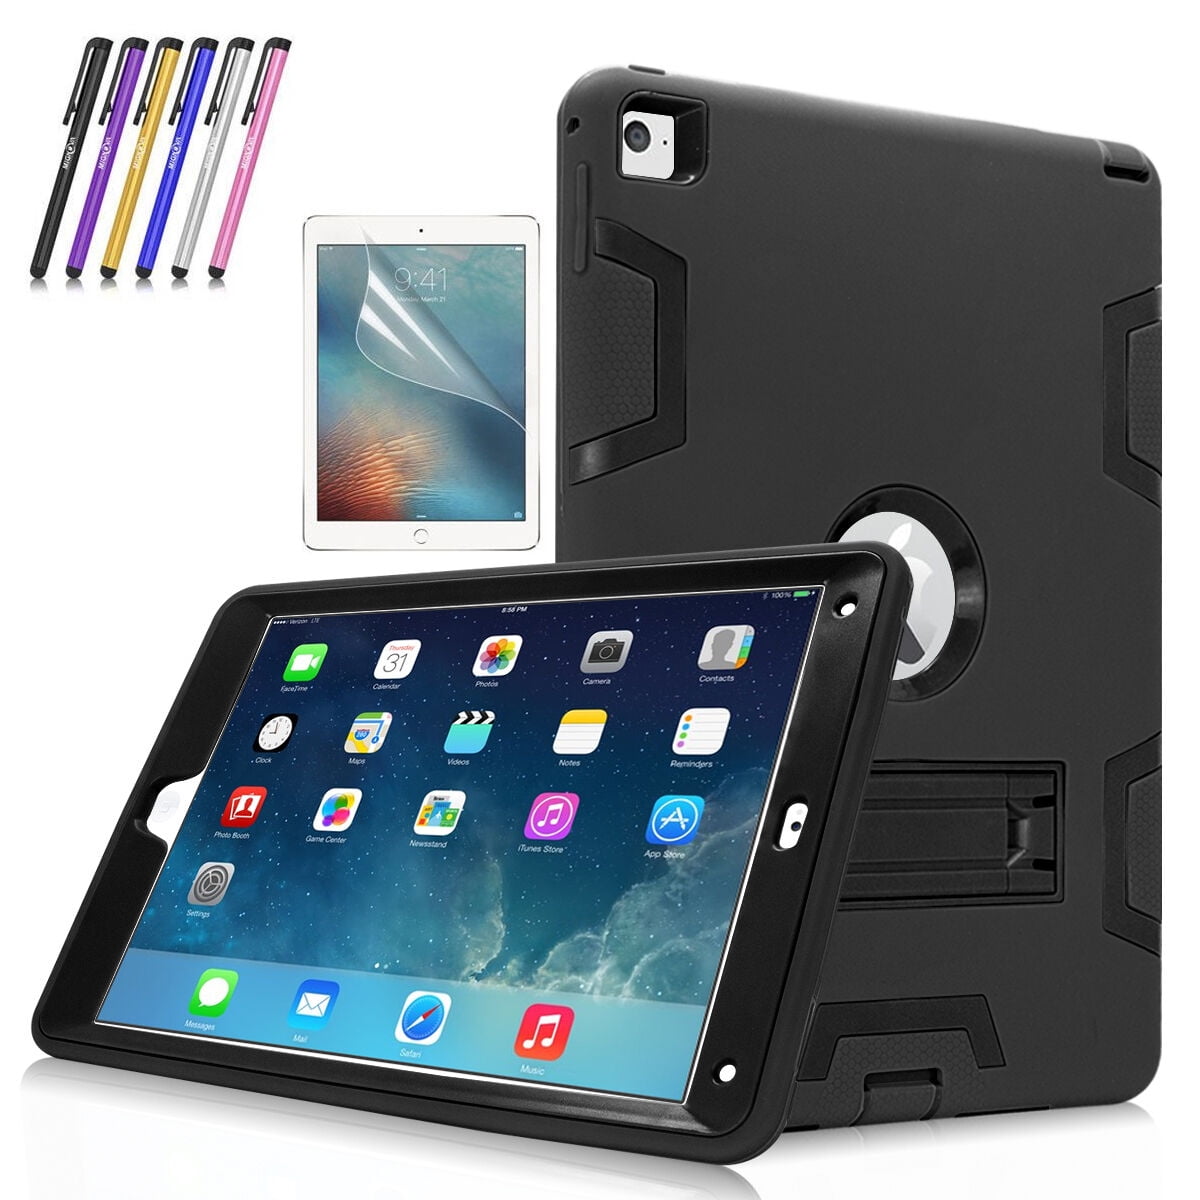
So, when you press the button, you don’t get any response. Cleaning your iPad buttons and sockets can help you resolve the problem. If your device power button is stuck, there are several options you would need to consider. Out of them all, ReiBoot is the most efficient option.
Step 4
Reach out to Apple to begin the repair process on your iPad. There could be a hardware issue behind the screen of your iPad that is preventing the button from connecting properly. When you have the firmware file on your Mac or PC, tap “Repair Now” to start fixing the operating system. However, if you are unable to follow the steps listed above, you should use Siri to turn on the AssistiveTouch on your iPad Mini. Let go of the Top button, then move the slider left to right to turn off the device.
ITunes will ask if you're ready to Restore the iPhone, this will wipe all of your data and settings from the device. Even in the shadow of the pandemic, we do not have enough time for everything, especially going out. We are working from home; we have countless other things to do every day. If none of the above helped, you can’t be expected to just get up and walk into the nearest Apple Store, no matter if that were exactly what Apple would like you to do. Firstly, your day is disrupted, and secondly, they will keep your iPad with them while they fix it. You use the Assistive Touch feature in the iPad to get you by until you have time and can get the iPad checked at the Store.
What can I do to resolve this?
It’s possible that you have followed all the instructions in the methods discussed above, but you are yet to get the desired results. Don’t give up just yet if I’m right about you. The UltFone iPadOS/iOS System Repair tool can do a better job by fixing the volume button stuck on iPadproblem once and for all. Dirt and debris can also result to volume button stuck on iPad. When there is dirt dust or dirt underneath your iPad volume button, the button will struggle to send the right signals to the operating system.
Below are the steps to take in restoring your iPhone. This site contains user submitted content, comments and opinions and is for informational purposes only. Apple disclaims any and all liability for the acts, omissions and conduct of any third parties in connection with or related to your use of the site. All postings and use of the content on this site are subject to the Apple Support Community Terms of Use.
Remove the iOpener from the microwave, holding it by one of the two flat ends to avoid the hot center. Be careful not to overheat the iOpener during the repair. Overheating may cause the iOpener to burst. We recommend that you clean your microwave before proceeding, as any nasty gunk on the bottom may end up stuck to the iOpener. "So helpful and friendly when I took my iPad in, as far removed from the stereotypical stand-offish techy type as you can imagine." Press and hold both the Home button and the top button until you see the Apple logo.
If there's something loose inside the case of the iPad interfering with the Home button, this could joggle it loose. Tap the back of your iPad in the general vicinity of the Home button. Don't tap too hard or too light, as neither will do you much good. Just a firm, solid tap, much like you might use when you're clapping your hands. If there's a glitch in the software or the operating system for your iPad, a simple restart might get everything working again. When your iPad's home button is not working, it can really slow you down.
That means that the smallest of failure has the power to disrupt our lives. If the iPad power button is jammed, you can try removing all cases and prying with a pair of tweezers. If the iPad power button is not working, you can try restarting, resetting settings, using Dr.Fone to help fix the iPad power button not working issue. If nothing helps, you will have to take the iPad to the service center, but meanwhile, you can also use Assistive Touch to get you by. This post has detailed how to fix volume button stuck on iPad.

I put the new screen in and transfer the cushion. Sure enough after a day of usage, the fellow calls me AGAIN and says the same thing is happening. Twist the remaining pick by the front-facing camera to separate the top edge of the display assembly from the rear case. Slide the left-hand opening pick down the edge of the display until you reach the corner.
If there is still a considerable amount of resistance when sliding the opening pick, repeat the iOpener heating procedure and apply additional heat. Slide the pick along the edge of the display, towards the headphone jack. Once you've opened a sufficient gap, insert an opening pick into the gap to prevent the adhesive from resealing. Place a suction cup over the iPad's front-facing camera and press down to create a seal.


No comments:
Post a Comment